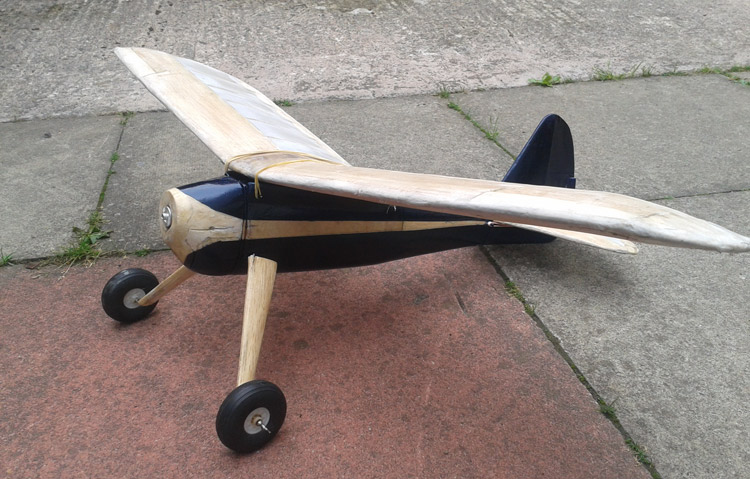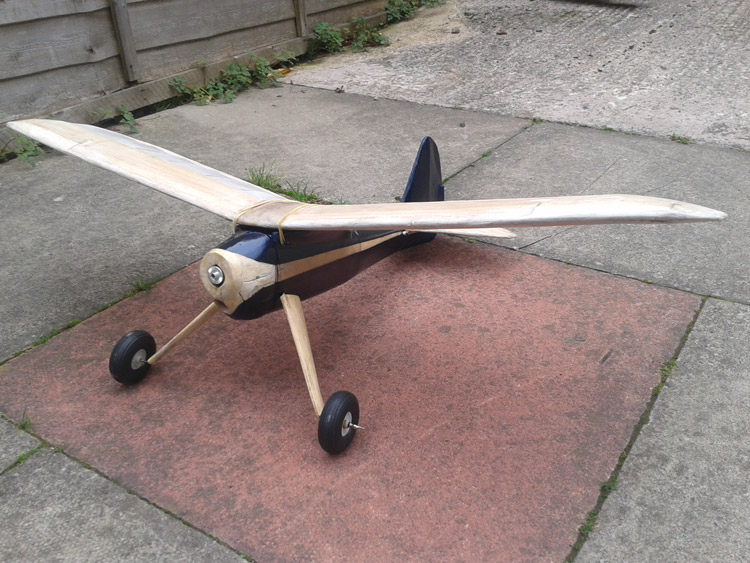
model before wings and tail painted
It’s early 2020 right now, but this post was written last year, so it’ll make sense. Enjoy!
Whats happening people! Welcome back to the Natsneez build and the start of the finishing series. I hope to keep this one short so that I can document the flying bit!!
When it came to deciding what colour to paint the model, it wasn’t difficult because I loved the C.E. Moore illustration of the Natsneez on the front cover of the Aeromodeller November 1944 that it featured in.

It’s a beautiful illustration. Blue fuselage, deep orange stripe down the side and natural coloured wings. I thought it looked really cool and really liked the retro-period feel to the colours.
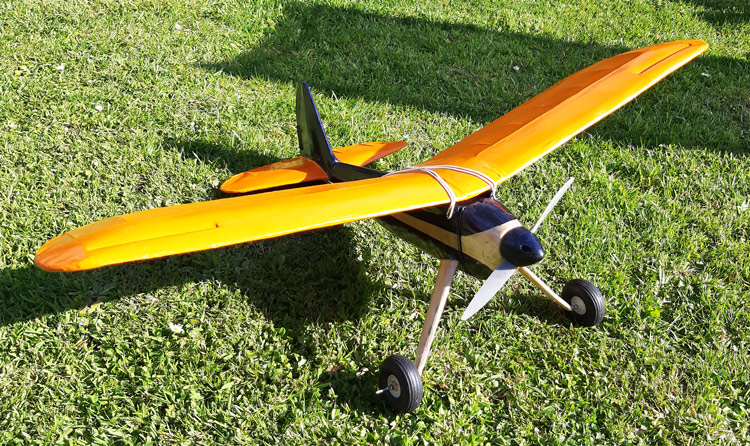
The only change I made is my idea to paint to the wings and tail plane in a contrasting chrome orange paint colour. I haven’t got round to this yet though, as I’m finding it difficult to source chrome orange paint. I found a graffiti paint supplier that has an amazing range of colours- all acrylic – and in big cans that are really cheap. The only thing is that is that they are only available in matt finish. So the search is still on.
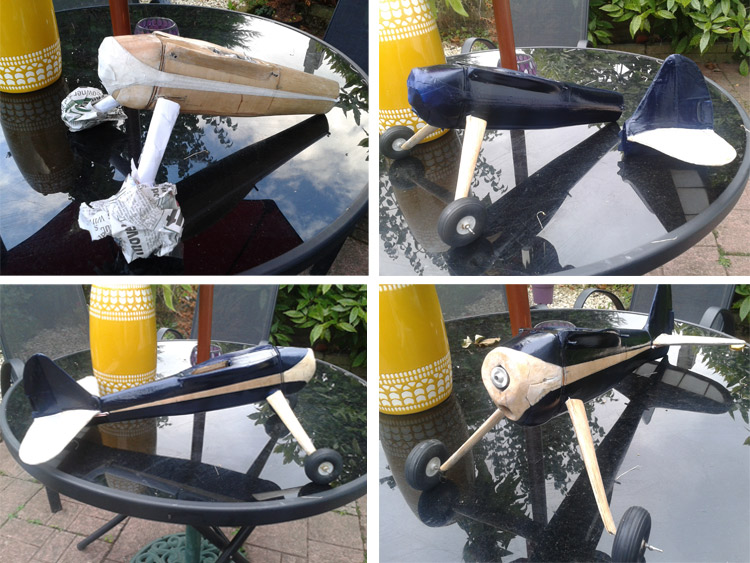
The pics below show the model masked out, then sprayed in a lovely inky blue gloss Tamiya paint (tiny can, not cheap). Then I took the paper off to reveal the doped balsa stripe.
It was at this point that my son said “nah man, don’t paint it, it looks cool with that wood stripe” So I deliberated for about 2 weeks whether to paint it chrome orange or to leave it natural. In the end I went with the natural wood look and just carefully put another coat of clear dope followed by a coat of fuel proofer over the whole model. Even though it was a cloudy day when I took the pics, the finished thing in the flesh looks awesome!

In retrospect I wish I had sanded off the pencil lines from the hatch area and tidied it up a little more though before proofing, but I was impatient! Ah well…
As I said earlier, the model still needs the wings and tail painting but now the bad weather is upon us to there is no rush. I’ll get round to it eventually when the weather improves.
The fairings covering the u/c wires are hard balsa with just a few dope coatings. They took a bit of a beating when I spent a whole afternoon test gliding the plane for fun and to find the optimal C.G. position, so there’s a few cracks in them. So I’m going to repair and then cover them in lightweight silk to give them a bit of strength, dope them in natural wood colour and fuel proof them.

As for the spinner I decided to go with the one I already have, as opposed to trying to find one smaller. Now that I’ve painted it in the same blue colour and fitted to the model ( not shown here) it looks great.

Check it out – painted wings and tail! Next installment, engine starts and (hopefully) first powered flight 🙂

Hi, I’m building one of these so, pleased to find your documented construction on line as the plan seems to leave a lot to the imagination! Seeing what you have done has really helped me interpret the drawing and instructions. You’ve ended up with a lovely finish and I will probably go with the same pattern and similar colour scheme. Thanks for posting this, it has been really helpful, good luck with the trimming and test flights.
Hi Colin, Thanks for reading my Natsneez blog. Glad you enjoyed it and found the info useful! I managed to find an original Aeromdeller magazine that featured this model so this really helped with the build. I’m hoping to put the build extract notes on my site in the future. Iv’e started the engine a few times, but it is challenging since its inverted. It does have a lovely glide though. Good luck with your build!